Getting Data In
In this post we look at getting data into Splunk so that we can start to analyse and visualise our data. We will be collecting data from a Squid Proxy Server using a Splunk Universal Forwarder.
A Splunk Universal Forwarder is a dedicated version of Splunk with the sole purpose of collecting data and forwarding it to the Splunk Indexer.
To start getting data in, enable your Splunk instance (from Installing Splunk) to start receiving data on port 9997.
To do this, log onto the Splunk Server Terminal, switch to the Splunk user and enter the following:
/opt/splunk/bin/splunk enable listen 9997 -auth admin:<password>Then install the Universal Forwarder on the Squid Proxy Server, setup the outputs.conf (where Splunk will send the data) and inputs.conf (what Splunk will monitor).
1. Create Splunk User
sudo useradd splunk2. Extract the Splunk .tgz file to /opt/
sudo tar -xvf /tmp/splunkforwarder-7.3.1-bd63e13aa157-Linux-x86_64.tgz -C /opt/3. Change ownership of the Splunk directory to the Splunk user
sudo chown -R splunk:splunk /opt/splunkforwarder/4. Start Splunk as Splunk user
sudo su splunk5. You will be prompted to create an account and set a password
/opt/splunkforwarder/bin/splunk start --accept-license
That's the Universal Forwarder installed, now we configure inputs.conf and outputs.conf
1. As the Splunk user paste in the following:
mkdir -p /opt/splunkforwarder/etc/apps/squid_app_inputs/local \2. Check that the two files have been created and the configurations are correct
/opt/splunkforwarder/etc/apps/squid_app_outputs/local
touch /opt/splunkforwarder/etc/apps/squid_app_inputs/local/inputs.conf \
/opt/splunkforwarder/etc/apps/squid_app_outputs/local/outputs.conf
cat >> /opt/splunkforwarder/etc/apps/squid_app_inputs/local/inputs.conf <<EOL
##Inputs for Squid Proxy
[monitor:///var/log/squid/access.log]
sourcetype = squid:access
disabled = false
EOL
cat >> /opt/splunkforwarder/etc/apps/squid_app_outputs/local/outputs.conf <<EOL
##outputs configuration
[tcpout:group1]
server=aio1:9997
EOL
3. Restart Splunkd
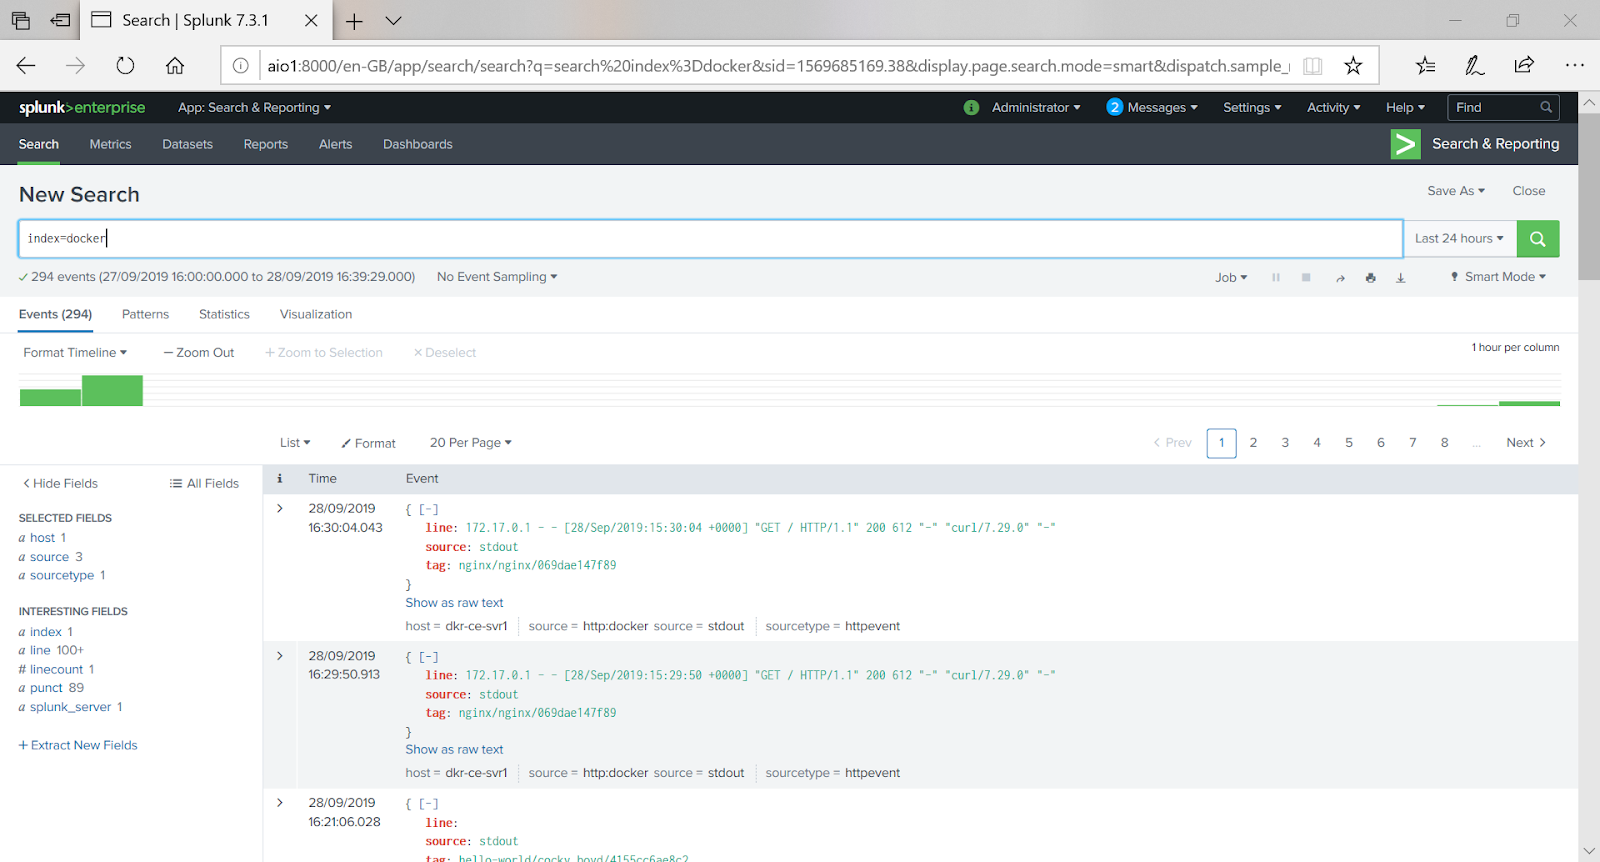
/opt/splunkforwarder/bin/splunk restartThat's the Universal Forwarder configured, now log onto your Splunk instance on port 8000 and run a search on index=main sourcetype=squid:access and you should see events from access.log.
NOTE: If you don't see any events you'll most likely not have permissions to read the access.log file as Splunk. Use the following ACL:
sudo /usr/bin/setfacl -R -m "u:splunk:r-x" /var/log/squid
You can now start to analyse and visualise your Squid access log.
Happy Splunking !!


Comments
Post a Comment